

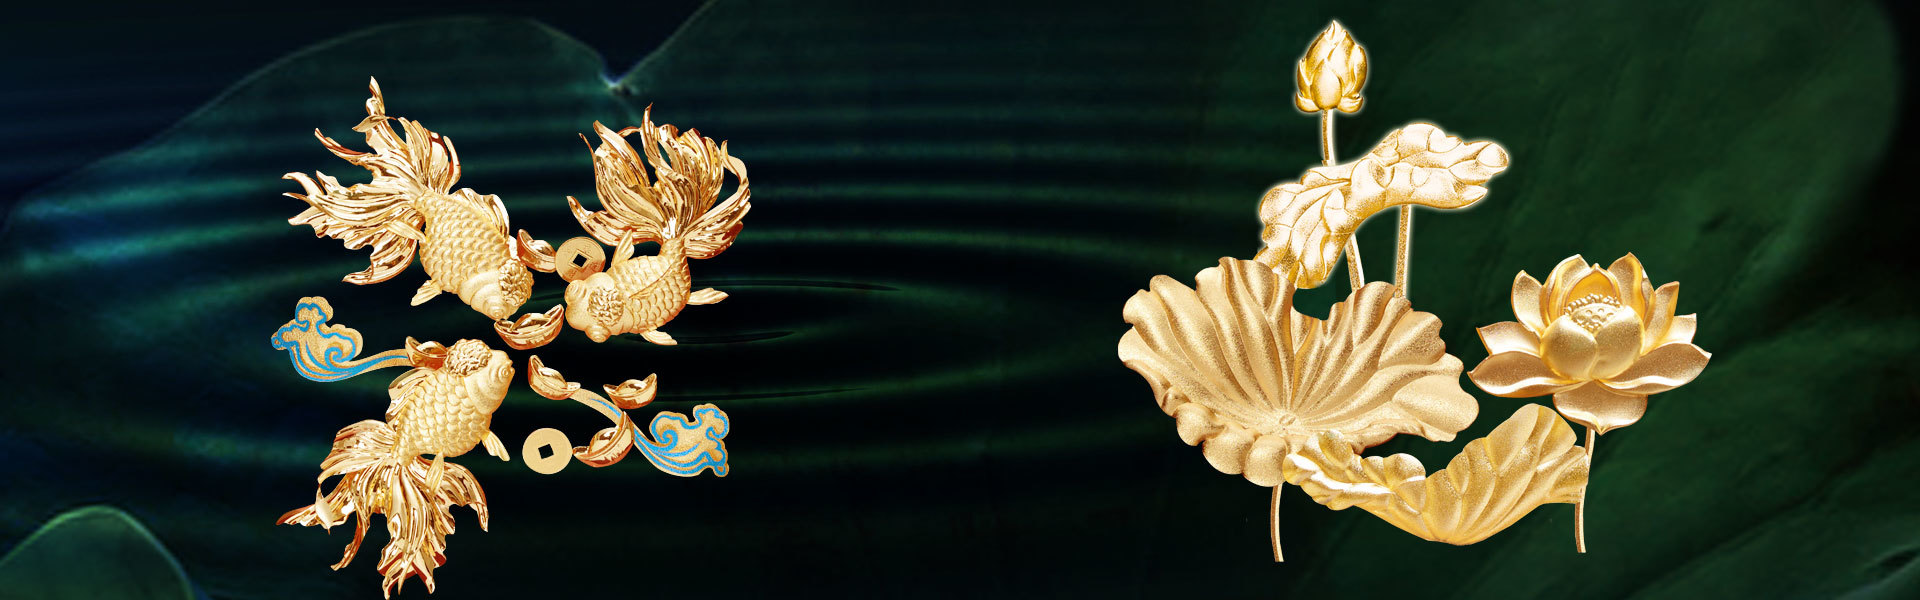

Unleashing Creativity: DIY 3D Gold Foil Painting Projects to Enrich Your Artistic Journey
Time :
2025-02-11
Unleashing Creativity: DIY 3D Gold Foil Painting Projects Table of Contents 1. Introduction to 3D Gold Foil Painting 2. Essential Materials for Your Projects 3. Techniques for Mastering 3D Gold Foil Painting 4. Step-by-Step Guide to Creating Your First 3D Gold Foil Painting 5. Creative Ideas for 3D Gold Foil Painting Projects 6. Tips and Tricks for Successful Gold Foil Application
Unleashing Creativity: DIY 3D Gold Foil Painting Projects
Table of Contents
- 1. Introduction to 3D Gold Foil Painting
- 2. Essential Materials for Your Projects
- 3. Techniques for Mastering 3D Gold Foil Painting
- 4. Step-by-Step Guide to Creating Your First 3D Gold Foil Painting
- 5. Creative Ideas for 3D Gold Foil Painting Projects
- 6. Tips and Tricks for Successful Gold Foil Application
- 7. Common Mistakes to Avoid in 3D Gold Foil Painting
- 8. Conclusion: Embracing Your Artistic Journey
- 9. FAQs About 3D Gold Foil Painting
1. Introduction to 3D Gold Foil Painting
In the world of art, **3D gold foil painting** stands out as a medium that captivates and inspires. This technique combines traditional painting with the elegance of gold foil, creating stunning visual effects that seem to leap off the canvas. It allows artists to explore their creativity while adding a touch of luxury to their projects. Whether you’re looking to decorate your home, create personalized gifts, or simply express yourself, DIY 3D gold foil painting offers endless opportunities.
2. Essential Materials for Your Projects
Before diving into your DIY 3D gold foil painting projects, it's important to gather the right materials. Here’s a comprehensive list to get you started:
2.1. Basic Supplies
- **Canvas or Wood Board**: Choose a surface that suits your style and desired project size.
- **Acrylic Paints**: Select a variety of colors for your base and details.
- **Gold Foil Sheets**: Available in various shades, these are essential for adding that luxurious finish.
- **Adhesive**: A medium that works with gold foil, such as liquid adhesive or glue sticks.
- **Brushes and Sponges**: Different sizes for various painting techniques.
- **Sealant Spray**: To protect your finished artwork.
2.2. Optional Enhancements
- **Textured Paste**: For creating dimensional effects.
- **Palette Knives**: For mixing paints and applying textures.
- **Stencils**: To help create precise designs.
3. Techniques for Mastering 3D Gold Foil Painting
Understanding the techniques behind **3D gold foil painting** is crucial for achieving stunning results. Here are some key methods to incorporate into your projects:
3.1. Layering and Texturing
Experiment with layering paint to build depth. Use textured paste to create raised areas where the gold foil can adhere, enhancing the three-dimensional effect.
3.2. Blending Colors
Blend acrylic paints to create gradients or new shades, allowing for unique backgrounds against which your gold foil will shine.
3.3. Foil Application
Apply adhesive to the areas where you want the gold foil to stick. Once it becomes tacky, gently press the foil onto the surface. The key is to do this carefully to avoid tearing the foil.
4. Step-by-Step Guide to Creating Your First 3D Gold Foil Painting
Embarking on your first DIY project can be daunting, but following a clear guide makes the process enjoyable. Here’s how to create a stunning **3D gold foil painting**:
Step 1: Choose Your Design
Select a theme or design for your painting. Popular choices include floral motifs, abstract patterns, or landscapes.
Step 2: Prepare Your Surface
Smooth your canvas or wood board, and apply a base coat of acrylic paint in your chosen background color.
Step 3: Create Texture
Using textured paste, apply your desired patterns or designs. Allow it to dry completely.
Step 4: Paint Your Design
Once the texture is dry, paint your design using acrylic paints. Be creative and have fun with colors.
Step 5: Apply Adhesive
After the paint dries, brush adhesive onto the areas where you want to apply gold foil.
Step 6: Transfer the Gold Foil
Once the adhesive is tacky, carefully place the gold foil onto the adhesive areas. Use a soft brush to gently press it down.
Step 7: Seal Your Artwork
After the foil is applied and dried, spray a sealant over your painting to protect it and enhance its longevity.
5. Creative Ideas for 3D Gold Foil Painting Projects
Now that you’ve mastered the basics, here are inspiring project ideas that will ignite your creativity:
5.1. Nature-Inspired Art
Create a stunning landscape featuring gold-foiled sunlight or shimmering water reflections.
5.2. Abstract Patterns
Use bold colors and geometric shapes to create an eye-catching abstract piece with strategic gold foil accents.
5.3. Personalized Gifts
Design custom artworks for friends and family, incorporating their favorite colors and motifs.
5.4. Seasonal Decor
Craft seasonal decorations, such as holiday-themed artwork, that incorporates gold foil to add a festive touch.
6. Tips and Tricks for Successful Gold Foil Application
Achieving beautiful results requires some finesse. Here are essential tips to ensure success with your gold foil projects:
6.1. Practice Patience
Allow adequate drying time between applications to avoid smudging or mixing colors.
6.2. Use Quality Materials
Invest in high-quality gold foil and adherents to achieve the best results.
6.3. Experiment with Techniques
Don’t hesitate to try different techniques like marbling or splattering to create unique textures.
7. Common Mistakes to Avoid in 3D Gold Foil Painting
To achieve stunning results, it’s essential to recognize common pitfalls:
7.1. Overloading Adhesive
Applying too much adhesive can cause the foil to tear or clump. A thin layer is often sufficient.
7.2. Rushing the Process
Haste can lead to mistakes. Take your time with each step for the best outcome.
7.3. Ignoring Sealants
Failing to seal your finished project can lead to damage over time. Always protect your artwork.
8. Conclusion: Embracing Your Artistic Journey
**DIY 3D gold foil painting** is a rewarding pursuit that allows artists of all levels to explore their creativity. By understanding the materials, techniques, and common pitfalls, you can create beautiful and unique pieces of art that showcase your personal style. Whether for enjoyment or as a decorative statement, these projects are not only a representation of your artistic expression but also an enlightening journey into the world of art. So gather your supplies, unleash your creativity, and start crafting stunning 3D gold foil paintings today!
9. FAQs About 3D Gold Foil Painting
What surfaces can I use for 3D gold foil painting?
You can use various surfaces such as canvas, wood, or thick paper. Ensure that the surface is smooth for the best results.
How do I store leftover gold foil?
Store leftover gold foil in a cool, dry place, ideally in a sealed bag to prevent damage.
Can I use oil paints instead of acrylics for gold foil painting?
While it's possible, acrylics are generally recommended due to their fast-drying nature and compatibility with gold foil application.
What types of adhesive work best for gold foil?
Liquid adhesives, glue sticks, or specifically formulated gold foil adhesives work best. Make sure the adhesive is tacky before applying the foil.
Is it necessary to seal my gold foil artwork?
Yes, sealing your artwork is important to protect it from dust, dirt, and fading, ensuring its longevity and vibrancy.
Latest news
Our May Day holiday is from May 1 to May 5. Please forgive me for any inconvenience caused during the holiday.
2024-04-26
The 32nd China (Shenzhen) International Gift Crafts Watch and Household Goods Exhibition
The 32nd China (Shenzhen) International Gifts, Crafts, Clocks and Household Goods Exhibition
2024-04-11
Wechat scanning code
Company address: the first floor and the second to third floors of plant 5 (East 1) at No. 2, Xinqing Second Road, Xinqing Science and Technology Industrial Park, Doumen District, Zhuhai
Tel:+86756-5103959 Phone:+8618926983250 Mail:service@hjdart.cn
Three dimensional gold foil paintings, three-dimensional gold foil flowers, enterprise business gift customization, wedding gifts, craft gifts
Copyright © 2024 Zhuhai hongjindu Crafts Co., Ltd
Powered by : www.300.cn SEO [ Privacy Policy ]
Online Message