

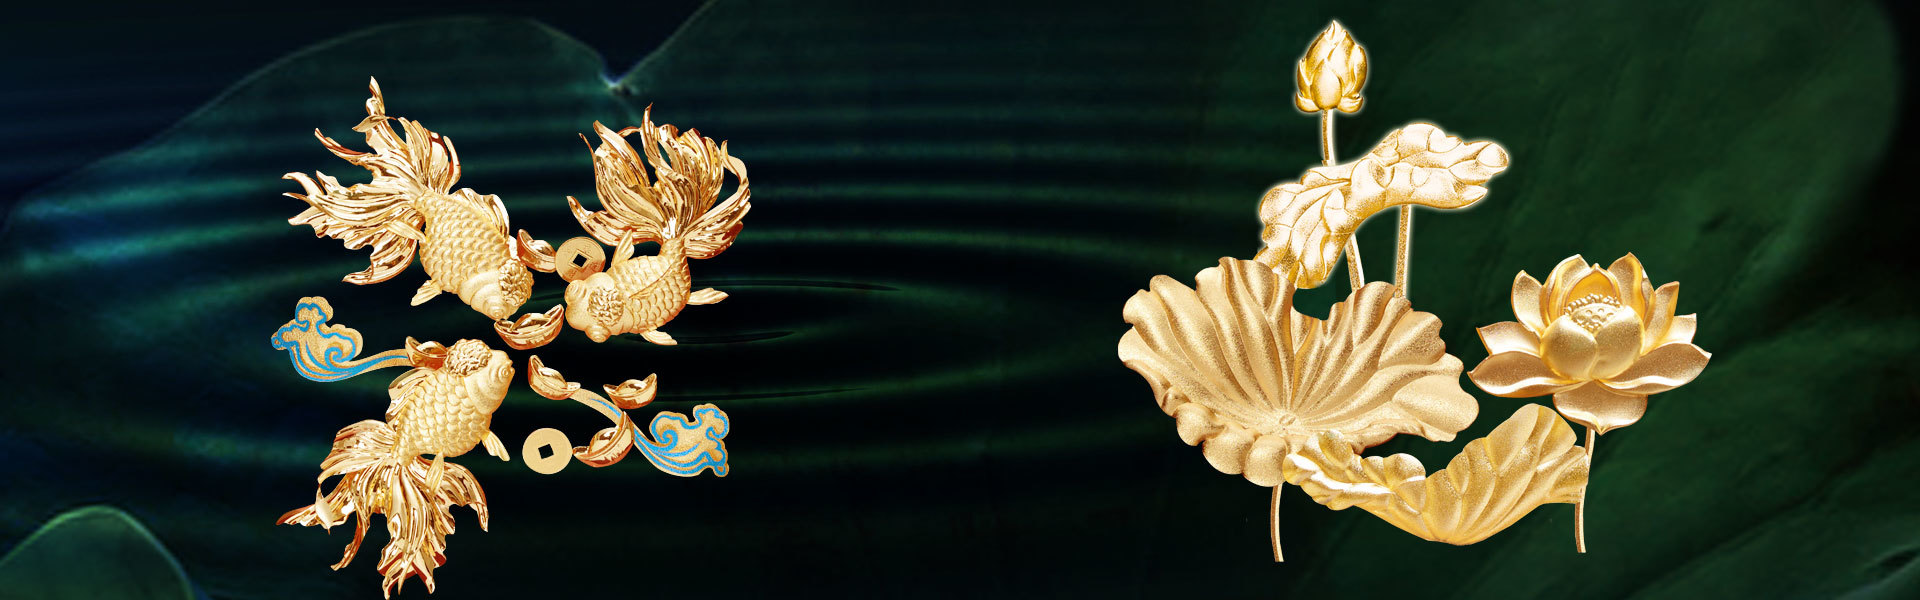

A Beginner's Guide to Crafting with 3D Gold Foil Ornaments: Unleash Your Creativity
Time :
2026-02-20
A Beginner's Guide to Crafting with 3D Gold Foil Ornaments Table of Contents What Are 3D Gold Foil Ornaments? The History of Gold Foil in Crafting Benefits of Using Gold Foil in Your Crafts Essential Materials for Crafting 3D Gold Foil Ornaments Step-by-Step Guide to Creating 3D Gold Foil Ornaments Creative Ways to Use Your 3D Gold Foil Ornaments Tips
A Beginner's Guide to Crafting with 3D Gold Foil Ornaments
Table of Contents
- What Are 3D Gold Foil Ornaments?
- The History of Gold Foil in Crafting
- Benefits of Using Gold Foil in Your Crafts
- Essential Materials for Crafting 3D Gold Foil Ornaments
- Step-by-Step Guide to Creating 3D Gold Foil Ornaments
- Creative Ways to Use Your 3D Gold Foil Ornaments
- Tips for Crafting Successfully with Gold Foil
- Common Mistakes to Avoid When Crafting with Gold Foil
- Frequently Asked Questions
What Are 3D Gold Foil Ornaments?
3D gold foil ornaments are decorative pieces crafted from thin sheets of gold foil that provide a luxurious and shimmering appearance. These ornaments are typically lightweight and can be formed into various shapes, making them ideal for decorations in homes, events, and celebrations. The **three-dimensional aspect** of these ornaments adds depth and intrigue, allowing them to catch the light beautifully.
The History of Gold Foil in Crafting
Gold foil has been cherished for centuries, originating from ancient civilizations where it was used to decorate artifacts and religious items. The artistry of gold leafing evolved, influencing various art forms. Today, gold foil remains a staple in modern crafting, particularly in DIY projects, providing an elegant touch to both functional and decorative items.
Benefits of Using Gold Foil in Your Crafts
Using gold foil in your crafting projects offers several benefits, including:
- **Aesthetic Appeal**: Gold foil adds an instant touch of elegance and sophistication to any project.
- **Versatility**: It can be applied to various materials, including paper, wood, glass, and fabric.
- **Easy to Work With**: Gold foil is relatively easy to manipulate, making it a favorite for both beginners and seasoned crafters.
- **Durability**: When properly adhered, gold foil can withstand wear and tear better than paint or other decorative finishes.
Essential Materials for Crafting 3D Gold Foil Ornaments
To embark on your journey of crafting 3D gold foil ornaments, gather the following materials:
- **Gold Foil Sheets**: Choose high-quality gold foil for the best results.
- **Adhesive**: A suitable adhesive, like glue or specialized foil adhesive, will help secure the foil.
- **Base Material**: Cardstock, lightweight wood, or cardboard can serve as the base for your ornaments.
- **Cutting Tools**: Scissors or craft knives for precise cutting.
- **Brushes**: Soft brushes for applying adhesive and smoothing down the foil.
- **Sealant**: A clear sealant can protect your finished ornaments and enhance their shine.
Step-by-Step Guide to Creating 3D Gold Foil Ornaments
Follow this detailed guide to create stunning 3D gold foil ornaments:
Step 1: Design Your Ornament
Begin by sketching the design of your ornament. Consider shapes like stars, snowflakes, or geometric forms. Make sure your design can be cut out easily.
Step 2: Prepare the Base Material
Cut your base material according to the design you've created. Ensure the edges are smooth and the surface is clean. This will provide a suitable canvas for your gold foil.
Step 3: Apply Adhesive
Using a brush, apply a thin layer of adhesive to the areas where you want to place the gold foil. Be careful not to apply too much, as this can lead to clumping.
Step 4: Apply Gold Foil
Once the adhesive is tacky, carefully lay the gold foil sheet over the area. Gently press down with your fingers or a soft brush to ensure the foil adheres properly.
Step 5: Remove Excess Foil
After allowing the adhesive to dry slightly, gently rub away any excess foil using a soft brush. This will reveal the beautiful, gold-covered areas of your design.
Step 6: Assemble the 3D Elements
If your design includes multiple layers, repeat the gold foil application process for each layer. Use adhesive to attach them together, creating the desired 3D effect.
Step 7: Seal Your Ornament
Once your ornament is fully assembled and dry, apply a clear sealant to protect it from damage and enhance its shine.
Creative Ways to Use Your 3D Gold Foil Ornaments
Your beautifully crafted ornaments can serve a variety of purposes:
- **Holiday Decorations**: Use them as tree ornaments or garlands during festive seasons.
- **Home Decor**: Display them on shelves, mantels, or tables to add a touch of glamour.
- **Gift Packaging**: Attach them to gift boxes or bags for an elegant finishing touch.
- **Event Decor**: Incorporate them into centerpieces or table settings for weddings and parties.
Tips for Crafting Successfully with Gold Foil
To enhance your crafting experience, consider these tips:
- **Practice Patience**: Allow adhesive to become tacky before applying the foil for better adherence.
- **Use High-Quality Materials**: Investing in good-quality gold foil and adhesive can significantly improve your results.
- **Experiment**: Don’t be afraid to try different techniques and designs. The more you experiment, the better you'll become.
- **Work in a Well-Lit Area**: Good lighting will help you see details and ensure precision in your work.
Common Mistakes to Avoid When Crafting with Gold Foil
Being aware of common pitfalls can help improve your crafting experience:
- **Applying Too Much Adhesive**: Excessive glue can lead to messy results; always apply a thin layer.
- **Rushing the Process**: Allow ample time for each step to dry properly before moving on.
- **Not Securing Edges**: Make sure edges of the foil are well-adhered to prevent peeling.
- **Ignoring Protective Coatings**: Skipping sealants can result in tarnished or scratched ornaments.
Frequently Asked Questions
1. Can I use gold foil on surfaces other than paper?
Yes, gold foil can be applied to various surfaces, including wood, glass, and fabric. Just ensure you use the right adhesive for your chosen material.
2. How do I store my gold foil ornaments?
Store your ornaments in a dry and cool place, away from direct sunlight. Use padded boxes or containers to prevent damage.
3. Can gold foil be used for outdoor decorations?
While gold foil can be used outdoors, it’s advisable to seal the ornaments with a weatherproof sealant to protect them from the elements.
4. What is the best adhesive for gold foil crafting?
Specialized gold foil adhesives or glue sticks that dry clear are recommended to achieve the best results.
5. How long does it take for the adhesive to dry?
Drying times can vary based on the adhesive used. Generally, allow 30 minutes to an hour for a tacky adhesive to set before applying the foil.
Conclusion
Crafting with 3D gold foil ornaments is a rewarding and enjoyable experience that allows for endless creativity. By following the steps outlined in this guide, you can create beautiful and unique pieces that enhance your décor, celebrate special occasions, or serve as thoughtful gifts. Whether you’re a novice or an experienced crafter, the allure of gold foil is sure to inspire your artistic journey. Now, gather your materials, unleash your creativity, and start crafting your stunning 3D gold foil ornaments!
Latest news
Our May Day holiday is from May 1 to May 5. Please forgive me for any inconvenience caused during the holiday.
2024-04-26
The 32nd China (Shenzhen) International Gift Crafts Watch and Household Goods Exhibition
The 32nd China (Shenzhen) International Gifts, Crafts, Clocks and Household Goods Exhibition
2024-04-11
Wechat scanning code
Company address: the first floor and the second to third floors of plant 5 (East 1) at No. 2, Xinqing Second Road, Xinqing Science and Technology Industrial Park, Doumen District, Zhuhai
Tel:+86756-5103959 Phone:+8618926983250 Mail:service@hjdart.cn
Three dimensional gold foil paintings, three-dimensional gold foil flowers, enterprise business gift customization, wedding gifts, craft gifts
Copyright © 2024 Zhuhai hongjindu Crafts Co., Ltd
Powered by : www.300.cn SEO [ Privacy Policy ]
Online Message