

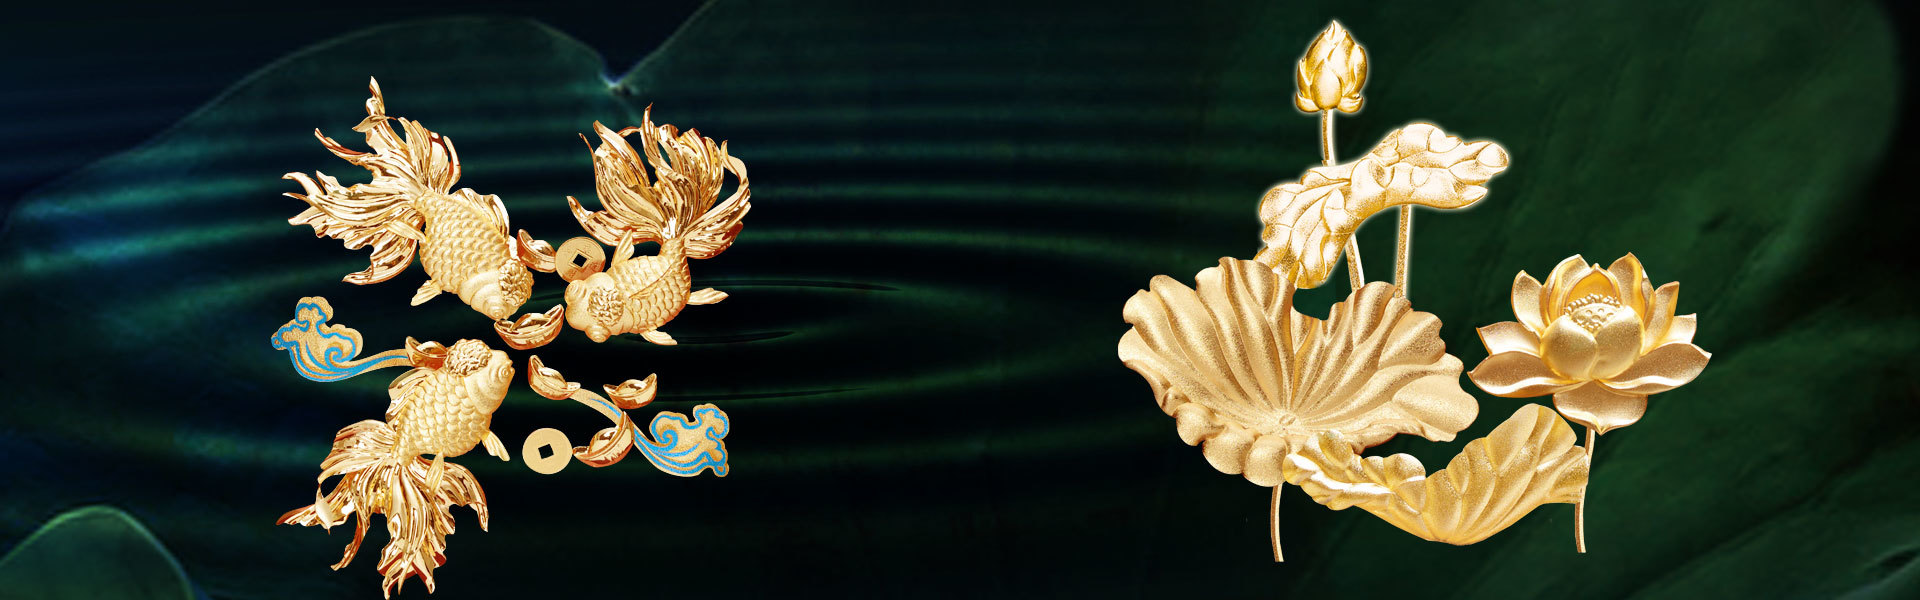

How to Create Breathtaking 3D Gold Foil Ornaments from Scratch: A Step-by-Step Guide
Time :
2026-07-14
How to Make Stunning 3D Gold Foil Ornaments from Scratch Table of Contents 1. Introduction to 3D Gold Foil Ornaments 2. Essential Materials for Making Gold Foil Ornaments 3. Tools You Need to Create 3D Gold Foil Ornaments 4. Step-by-Step Guide to Making 3D Gold Foil Ornaments 4.1 Designing Your Ornament 4.2 Cutting Out Your Shapes 4.3 Applying Gold Foil 4.4 As
How to Make Stunning 3D Gold Foil Ornaments from Scratch
Table of Contents
- 1. Introduction to 3D Gold Foil Ornaments
- 2. Essential Materials for Making Gold Foil Ornaments
- 3. Tools You Need to Create 3D Gold Foil Ornaments
- 4. Step-by-Step Guide to Making 3D Gold Foil Ornaments
- 4.1 Designing Your Ornament
- 4.2 Cutting Out Your Shapes
- 4.3 Applying Gold Foil
- 4.4 Assembling the Ornament
- 4.5 Finishing Touches for a Polished Look
- 5. Storing and Displaying Your 3D Gold Foil Ornaments
- 6. Expert Tips for Perfecting Your Craft
- 7. Frequently Asked Questions
- 8. Conclusion
1. Introduction to 3D Gold Foil Ornaments
Creating **3D gold foil ornaments** is an exciting way to express your creativity and bring a touch of elegance to your space. These ornaments can be used for various occasions, from festive holidays to personal celebrations. The shimmering effect of gold foil adds a luxurious appeal that can transform ordinary decorations into stunning works of art. In this guide, we will walk you through the entire process, ensuring you have the skills and knowledge to craft beautiful ornaments from scratch.
2. Essential Materials for Making Gold Foil Ornaments
To create your stunning **3D gold foil ornaments**, you will need the following materials:
- Gold foil sheets: Choose high-quality gold foil for a vibrant finish.
- Cardstock paper: Use heavyweight cardstock for the base of your ornaments.
- Glue: A strong adhesive such as tacky glue or a glue stick works best.
- Scissors or a craft knife: Precision cutting tools are essential for clean edges.
- Bone folder: This tool helps to create crisp folds and creases.
- Pencil: For sketching designs and marking cuts.
- Ruler: To ensure straight lines and accurate measurements.
- Decorative elements (optional): Such as ribbons, beads, or glitter to personalize your ornaments.
3. Tools You Need to Create 3D Gold Foil Ornaments
Along with your materials, having the right tools is crucial for achieving a professional look. Here’s what you will need:
- Cutting mat: Protects your workspace and keeps your blades sharper for longer.
- Weeding tool: Helpful for removing excess foil or intricate details.
- Paintbrush: For applying adhesive evenly.
- Crafting board: To help with scoring and folding your cardstock.
4. Step-by-Step Guide to Making 3D Gold Foil Ornaments
Now that you have your materials and tools ready, let’s dive into the step-by-step process of creating your **3D gold foil ornaments**.
4.1 Designing Your Ornament
Begin by brainstorming designs for your ornaments. You may want to sketch various shapes and patterns. Popular designs include stars, snowflakes, and abstract shapes. Remember to consider the size of the ornament and how it will hang. A good rule of thumb is to keep the ornament between 3 to 6 inches.
4.2 Cutting Out Your Shapes
Once you have a design, it's time to transfer it onto your cardstock. Use a pencil to trace the shapes, then carefully cut them out using scissors or a craft knife. Achieving clean edges is crucial for a professional finish.
4.3 Applying Gold Foil
To apply the gold foil, use a paintbrush or your fingers to spread a thin layer of glue over the areas you want to cover with gold foil. Gently press the foil onto the glued surface, making sure to rub it down firmly. After the glue dries, gently peel away excess foil to reveal the shiny surface beneath.
4.4 Assembling the Ornament
Depending on your design, you may need to fold or layer the shapes you've cut out. Use a bone folder to create clean, crisp folds. Assemble your ornament by gluing pieces together. If your design involves multiple layers, allow each layer to dry completely before adding the next.
4.5 Finishing Touches for a Polished Look
To give your ornament a polished look, consider adding embellishments such as ribbons, glitter, or beads. These details can enhance the overall design and make your ornament truly unique. Ensure all elements are securely attached before displaying your creation.
5. Storing and Displaying Your 3D Gold Foil Ornaments
After creating your stunning ornaments, it’s essential to store them properly to maintain their beauty. Use acid-free tissue paper to wrap each ornament individually and store them in a sturdy box. When displaying your ornaments, consider using decorative stands or hanging them from a tree, garland, or window. The right lighting can enhance their shimmering effect, making them even more eye-catching.
6. Expert Tips for Perfecting Your Craft
To elevate your **gold foil ornament-making** skills, consider the following tips:
- Practice your techniques: The more you work with gold foil, the more comfortable you’ll become with the application process.
- Experiment with colors: While gold is stunning, don’t hesitate to explore other metallic foils for a unique twist.
- Combine textures: Mixing gold foil with matte or patterned papers can add depth and interest to your designs.
- Take your time: Rushing through the process can lead to mistakes. Allow yourself ample time to enjoy creating.
7. Frequently Asked Questions
What type of paper is best for gold foil ornaments?
The best type of paper is heavyweight cardstock, as it provides a sturdy base and holds its shape well when cut and folded.
Can I use regular glue for applying gold foil?
While regular glue can work, it’s best to use a strong adhesive that dries clear and doesn’t warp the paper.
How do I achieve a smooth finish with gold foil?
Ensure the glue is applied evenly and avoid overworking the foil. Gently rub it on with your fingers to adhere it properly without tearing.
Are there alternative materials for making ornaments?
Yes, you can use materials such as acrylic sheets, wood veneer, or even recycled cardboard for unique textures and styles.
How do I hang my gold foil ornaments?
You can use a thin ribbon, string, or fishing line to hang your ornaments. Simply punch a small hole at the top and thread your hanging material through.
8. Conclusion
Creating **stunning 3D gold foil ornaments** from scratch is a rewarding and enjoyable craft that allows for endless creativity. By following this detailed step-by-step guide, you can produce unique ornaments that not only enhance your home decor but also serve as cherished gifts for loved ones. Whether you’re crafting for a special occasion or simply exploring a new hobby, the beauty of working with gold foil will surely inspire you. Embrace the process, and let your imagination shine as you create captivating decorations that highlight your personal style. Happy crafting!
Latest news
Our May Day holiday is from May 1 to May 5. Please forgive me for any inconvenience caused during the holiday.
2024-04-26
The 32nd China (Shenzhen) International Gift Crafts Watch and Household Goods Exhibition
The 32nd China (Shenzhen) International Gifts, Crafts, Clocks and Household Goods Exhibition
2024-04-11
Wechat scanning code
Company address: the first floor and the second to third floors of plant 5 (East 1) at No. 2, Xinqing Second Road, Xinqing Science and Technology Industrial Park, Doumen District, Zhuhai
Tel:+86756-5103959 Phone:+8618926983250 Mail:service@hjdart.cn
Three dimensional gold foil paintings, three-dimensional gold foil flowers, enterprise business gift customization, wedding gifts, craft gifts
Copyright © 2024 Zhuhai hongjindu Crafts Co., Ltd
Powered by : www.300.cn SEO [ Privacy Policy ]
Online Message